


Shared Inboxes
Using role-based email addresses like secretary@ or community@ on behalf of your committee.
What is a shared inbox?
A shared inbox is an email address that belongs to a role or committee rather than a single person. For example, community@rotary9660.org.au or secretary@rotary9660.org.au. Multiple people can read messages and send replies from that address.
- Shared inboxes use role-based addresses:
rolename@rotary9660.org.auorrolename.role@rotary9660.org.au - They are unlicensed accounts - they have no password of their own and cannot be signed in to directly
- Access is granted by the IT team. If you need access, email support@rotary9660.org.au
- On desktop (web or app), the shared inbox appears automatically once access is granted
- On mobile, you need to add it manually (steps below)
firstname.lastname@rotary9660.org.au). The shared inbox then appears as a second mailbox alongside your own. When you reply from within the shared inbox, you are sending from the shared address, not from your personal one.
1. Opening the shared inbox
Select your platform:
Once IT has granted you access, the shared inbox appears automatically in the left sidebar under your personal mailbox at outlook.cloud.microsoft.
If it does not appear after a few minutes:
- Click your profile picture in the top-right corner.
- Click Open another mailbox.
- Type the shared inbox address (e.g.
community@rotary9660.org.au) and click Open.
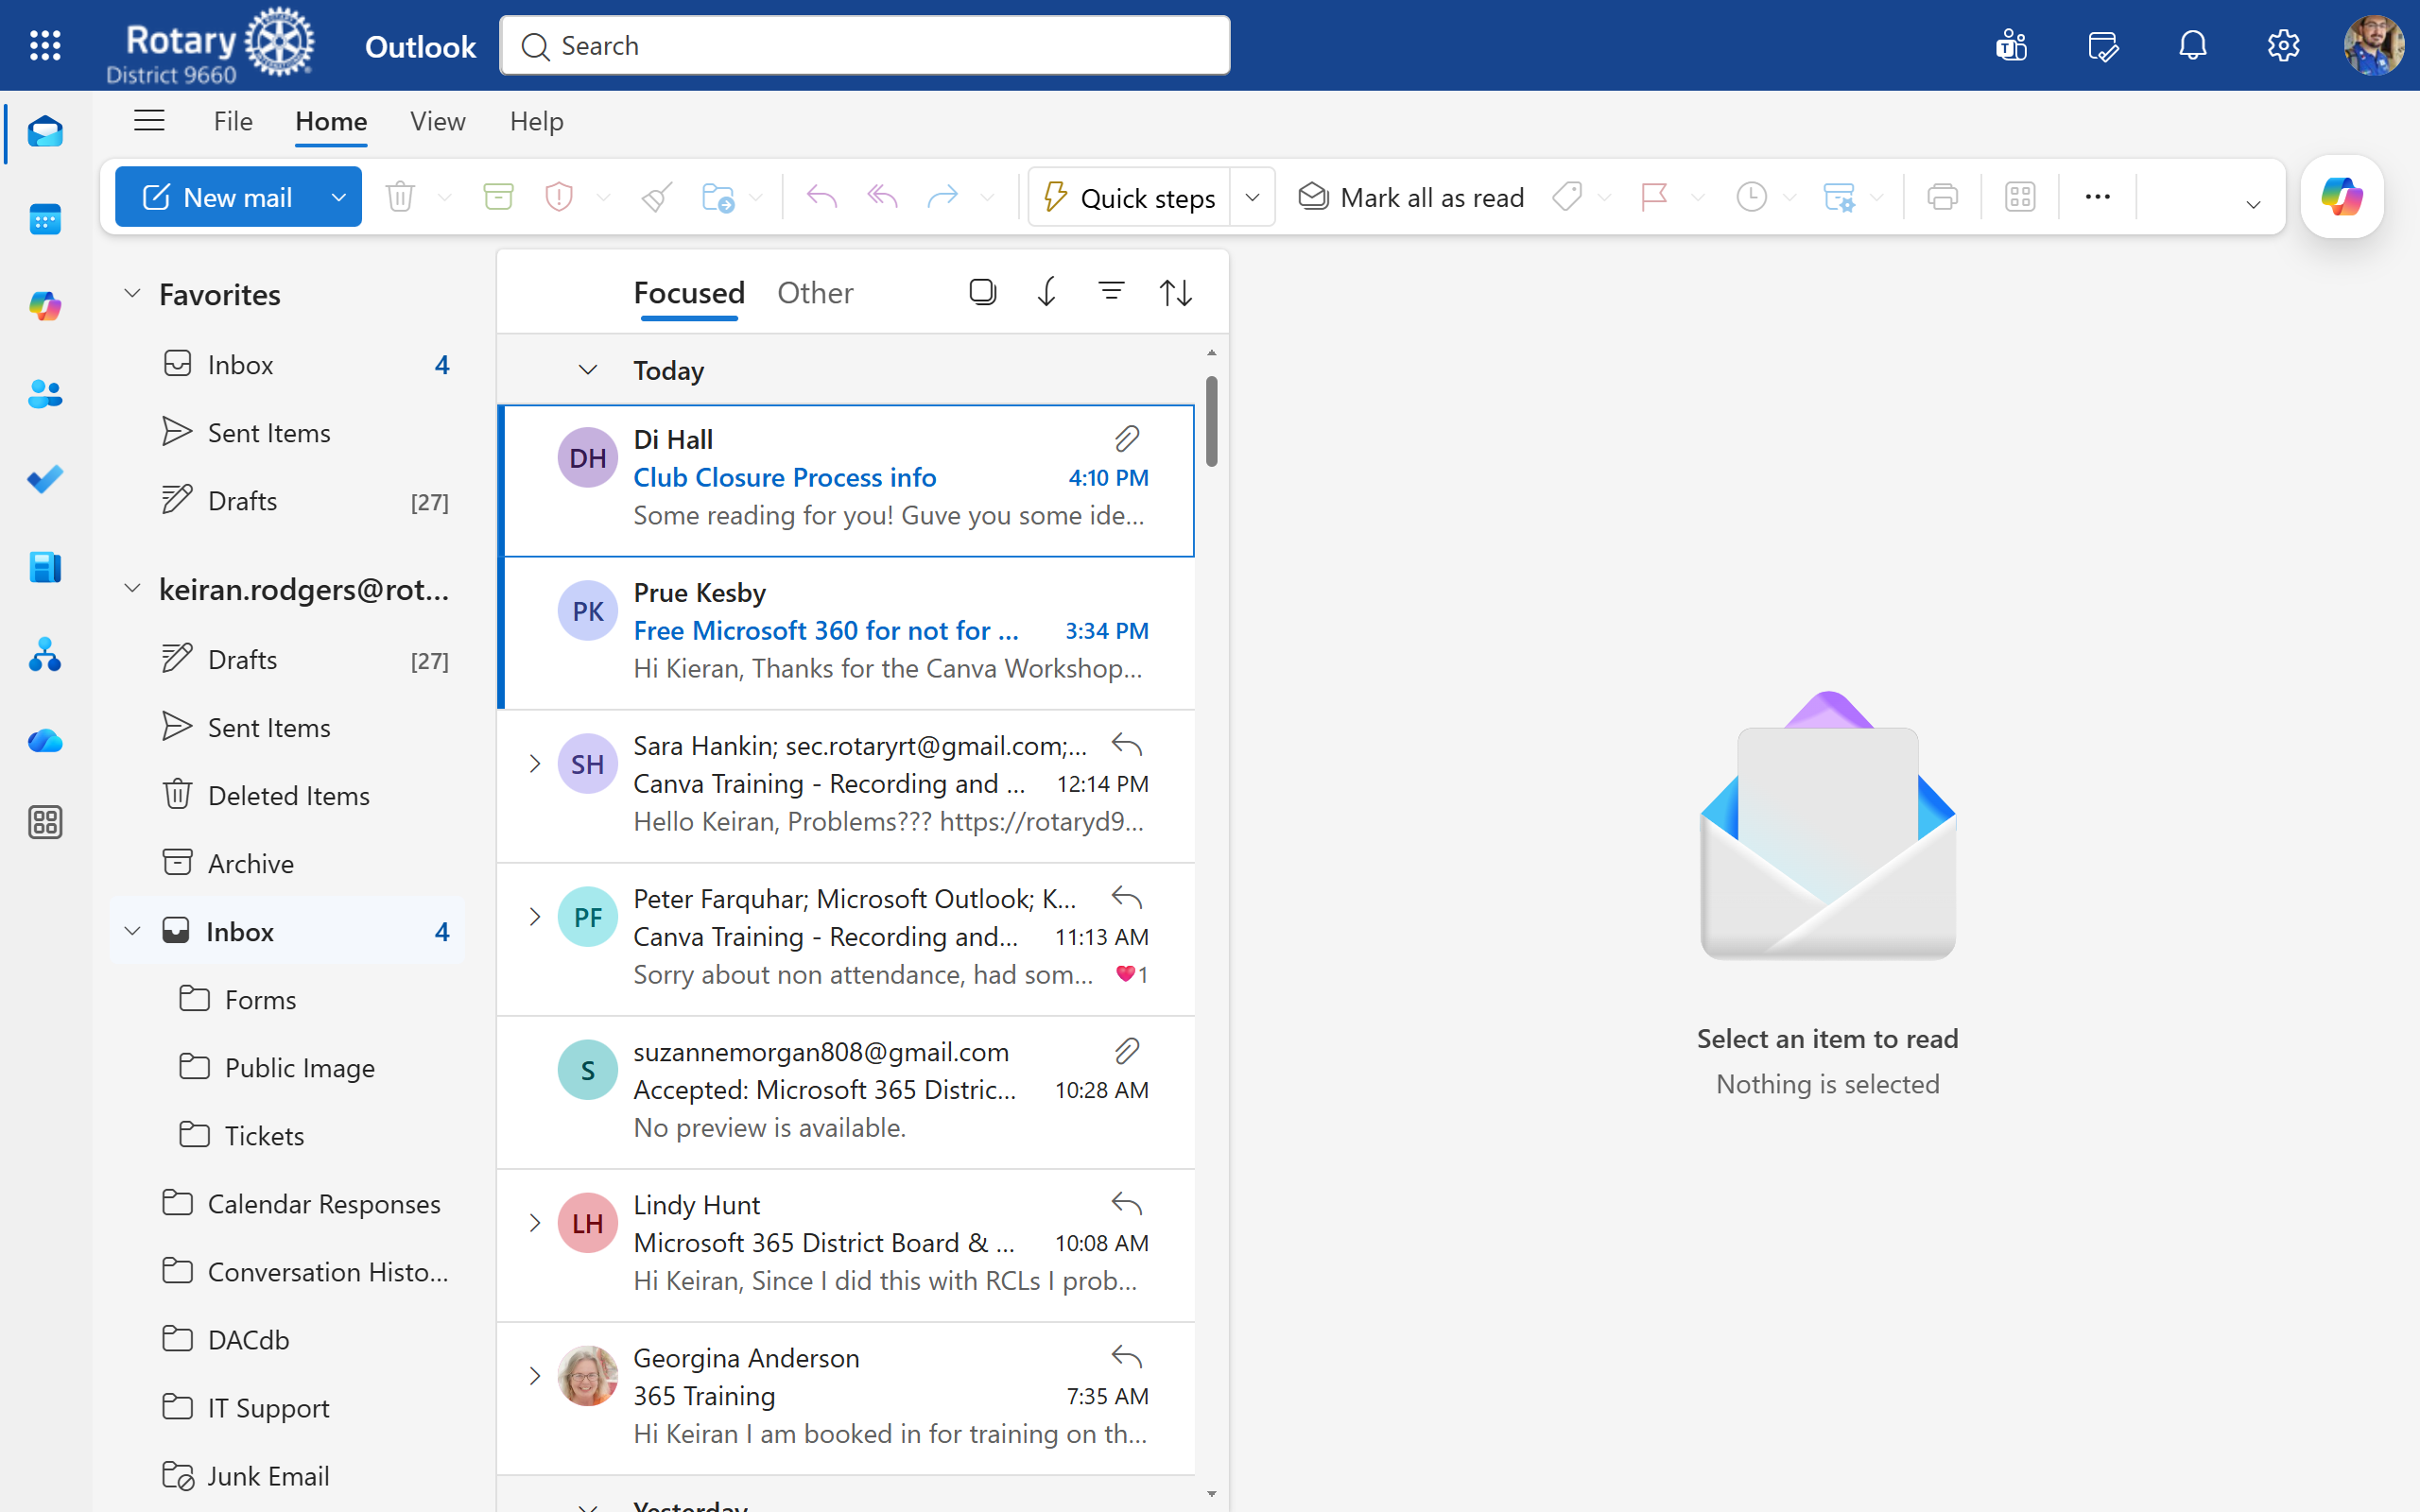
The shared inbox should appear automatically in the left panel of the Outlook desktop app.
If it does not appear:
- In the left panel, right-click your account name.
- Select Add shared folder or mailbox.
- Type the shared inbox address (e.g.
community@rotary9660.org.au) and click Add.
On iPhone and iPad, you need to add the shared inbox manually:
- Open the Outlook app.
- Tap your profile icon in the top-left corner.
- Tap Add mail account.
- Tap Add a Shared Mailbox.
- Enter the shared inbox address (e.g.
community@rotary9660.org.au) and tap Add Account. - The shared inbox will appear as a separate account in the app.
On Android, you need to add the shared inbox manually:
- Open the Outlook app.
- Tap your profile icon.
- Tap Add account.
- Tap Add a Shared Mailbox.
- Enter the shared inbox address and tap Continue.
2. Reading messages in the shared inbox
Once the shared inbox is open, it works like a regular inbox. Tap or click any message to read it.
3. One-time setup: Turn on the "From" field
Before you can send from a shared inbox, you need to make the From field visible in Outlook. This is a one-time setting.
Select your platform:
- In Outlook on the web, click the Settings gear icon in the top-right corner.
- Click Mail → Compose and reply.
- Scroll down and turn on Always show From.
- Click Save.
- Open a new email in the Outlook desktop app.
- Click the Options tab in the ribbon.
- Click From. The From field will now appear on all new emails.
4. Sending a new email from the shared inbox address
Select your platform:
- Click New mail.
- Click the From field. A dropdown will appear showing your available sender addresses.
- Select the shared inbox address (e.g.
community@rotary9660.org.au). - If the shared address does not appear, type it manually in the From field.
Before - From field showing your personal address:

After - From field changed to the shared inbox address:

- Click New Email.
- If the From button is not visible, go to Options in the ribbon and click From.
- Click the From button and select the shared inbox address.
- Open the shared inbox account in the Outlook app.
- Tap the compose button.
- Tap your name or address in the From field at the top of the compose screen.
- Select the shared inbox address from the list.
- Open the shared inbox account in the Outlook app.
- Tap the compose button.
- Tap the From field and select the shared inbox address.
5. Replying from the shared inbox address
When you open a message inside the shared inbox and click Reply, Outlook should automatically set the From address to the shared inbox.
If it defaults to your personal address, click or tap the From field and change it to the shared address before sending.
6. Who has access and how to request it
- Access is managed by the IT team. Members cannot add themselves.
- To request access: email support@rotary9660.org.au with the name of the shared inbox you need and your reason for needing access.
- IT will grant access and confirm by email. The shared inbox will then appear in Outlook automatically on desktop, or can be added manually on mobile.
- To have access removed (e.g. when leaving a role): email support@rotary9660.org.au.
7. Shared inbox vs distribution list
Shared inbox
- One email address, multiple people can read and reply
- Messages stored in one shared mailbox
- Replies come from the shared address
- Everyone sees the same inbox
Distribution list
- One email address that forwards to each member's personal inbox
- Each person replies from their own address
- No shared mailbox - everyone gets their own copy
- No common view of what has been replied to
8. District-wide addresses: info@ and support@
Two shared inboxes are district-wide rather than committee-specific, and they are easy to mix up. Sending to the wrong one is the most common reason a message sits unanswered.
info@rotary9660.org.au
- The district's general enquiry address and public front door
- This is the address printed on the website, the newsletter and district material
- Use it for: enquiries about Rotary, how to join a club, speaking requests, media and community enquiries, anything with no obvious committee
- Watched by several members of the district team
support@rotary9660.org.au
- The IT and operations address for district members
- Use it for: login problems, Outlook or SharePoint questions, access to a shared inbox, anything to do with your Rotary account
- Not a public address - it is for members, not community enquiries
info@ that clearly belongs to a committee, forward it on rather than answering from info@, so the reply comes from the people who own the topic.